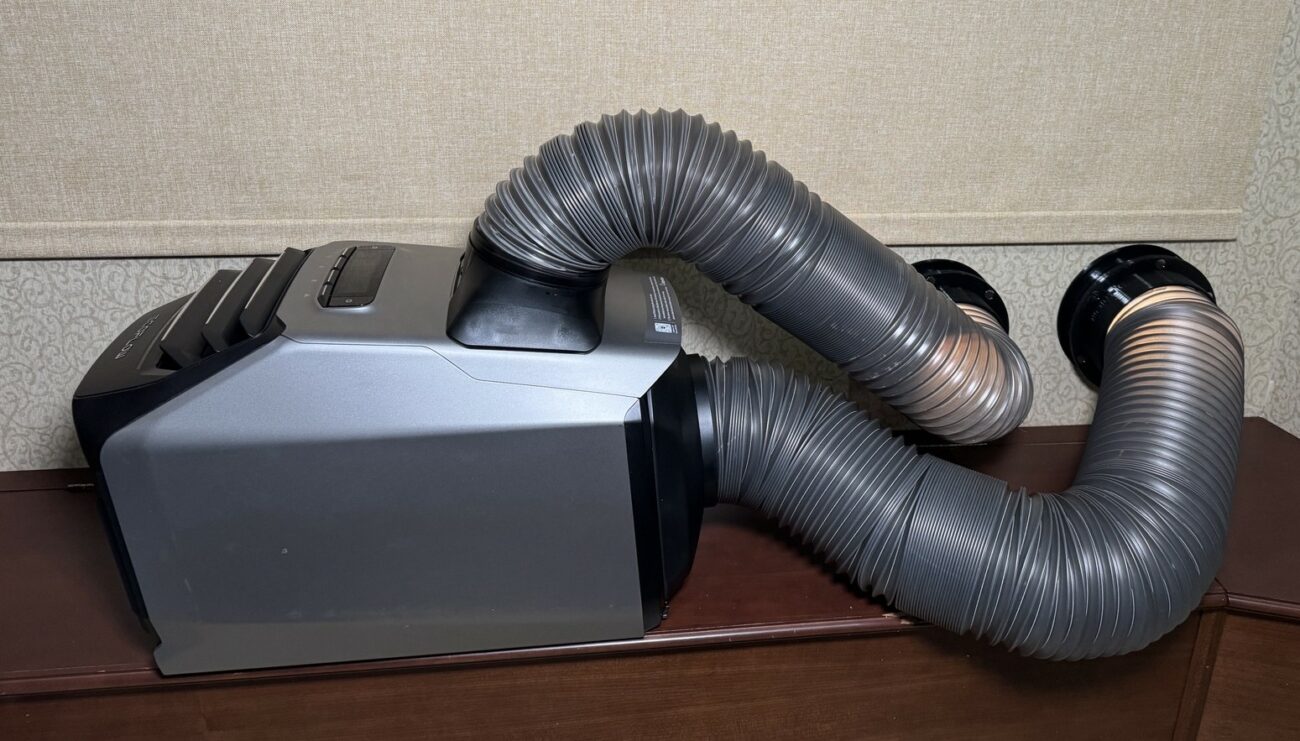
Many RV owners find it necessary to use a portable air conditioner in their motor home to supplement the main air conditioner at some point.
In my case, the separate bedroom at the rear of the RV rarely cools down to a comfortable temperature during the hottest days of summer with the main air conditioner running.
There are probably other solutions but the only apparent one to me is to install portable air conditioner like the Ecoflow Wave 2 in the bedroom area. This will also have the advantage of lowering my overall energy cost since the portable air conditioner consumes less energy and will be the only one running at night when there's no-one occupying the main living area.
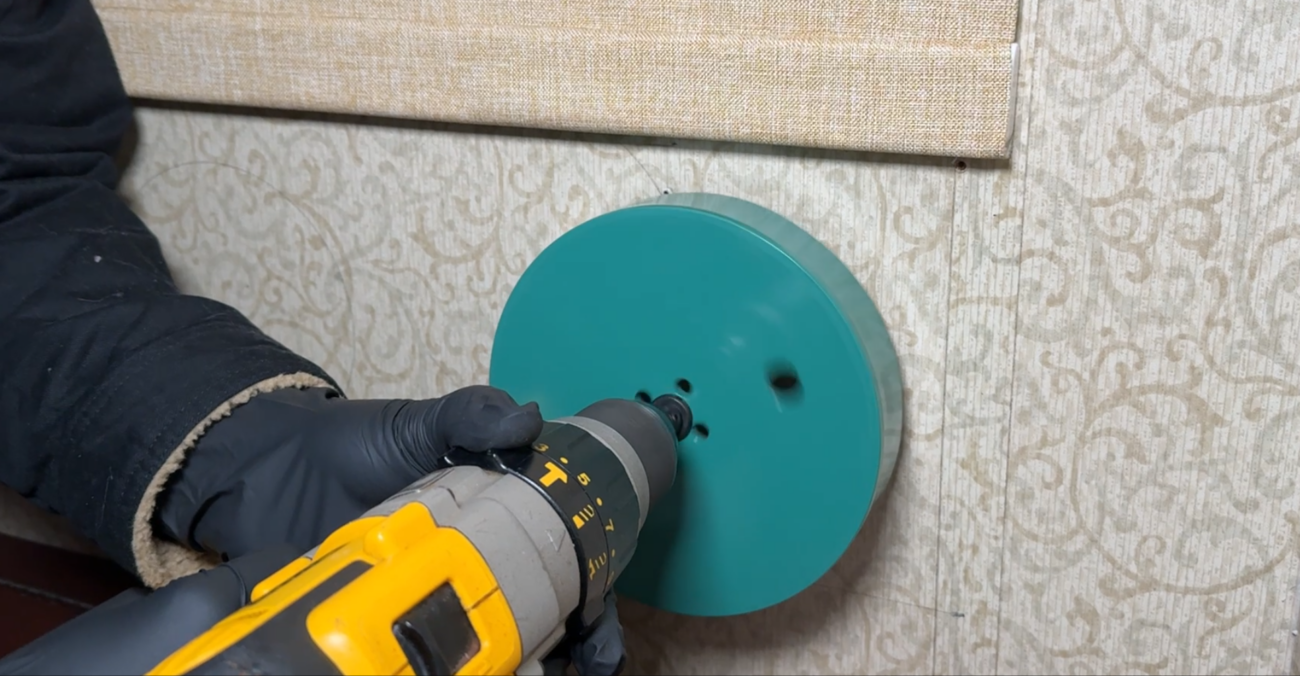
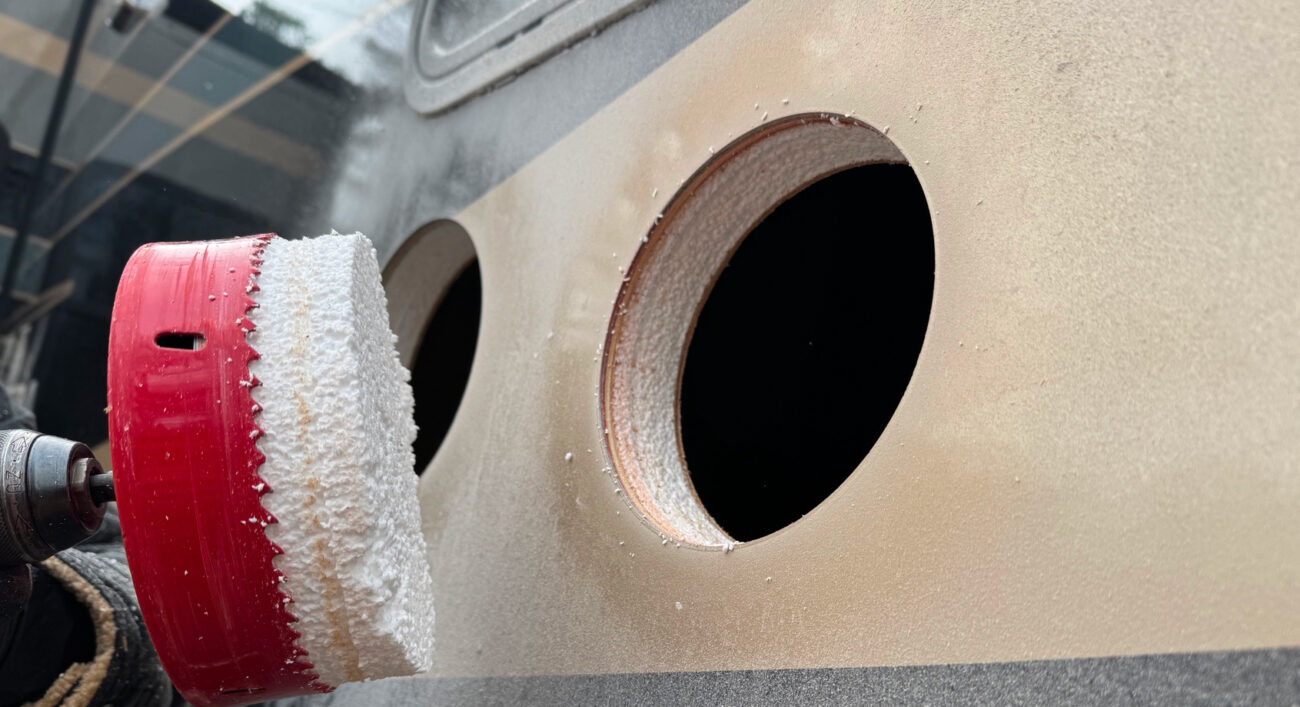
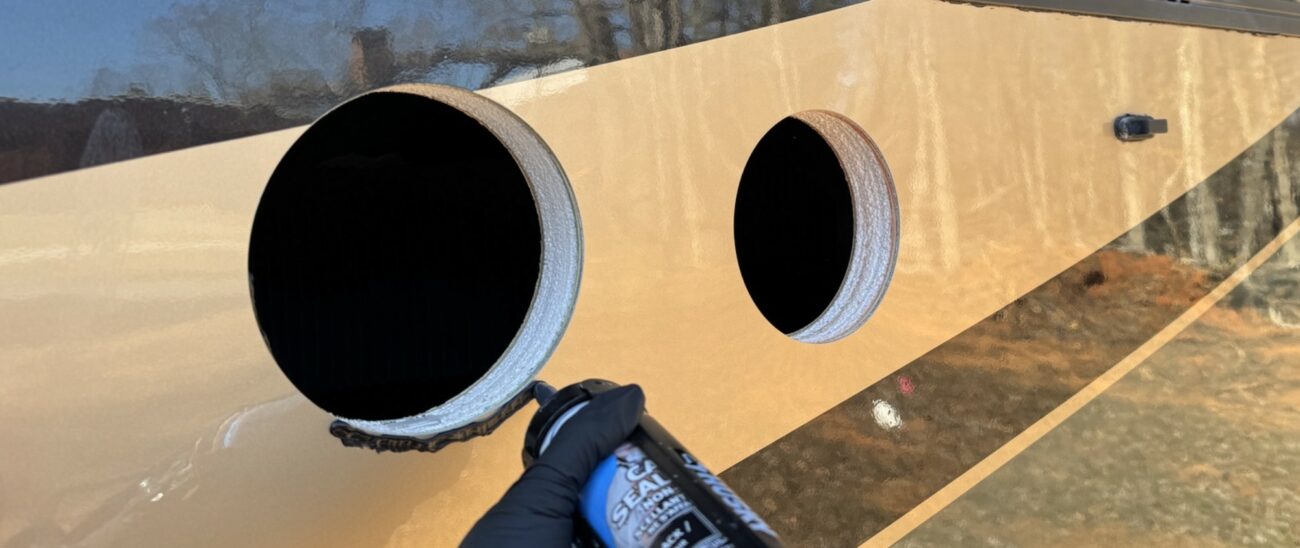
This sounds like a good plan but the thought of cutting a hole in my Class A RV's fiberglass body to vent the portable air conditioner sends shivers down my spine! My trepidation stems from the fact that I have not been able to find an example of what it really looks like to make a giant 6 inch hole in the fiberglass body of a motor home or a fifth wheel. I worry that I might create a spreading crack or something like that.
In this post, I documented my installation process - which turned out not to be a big deal. In fact, it wouldn't take me more than 20 minutes if I had to do a similar installation another time.
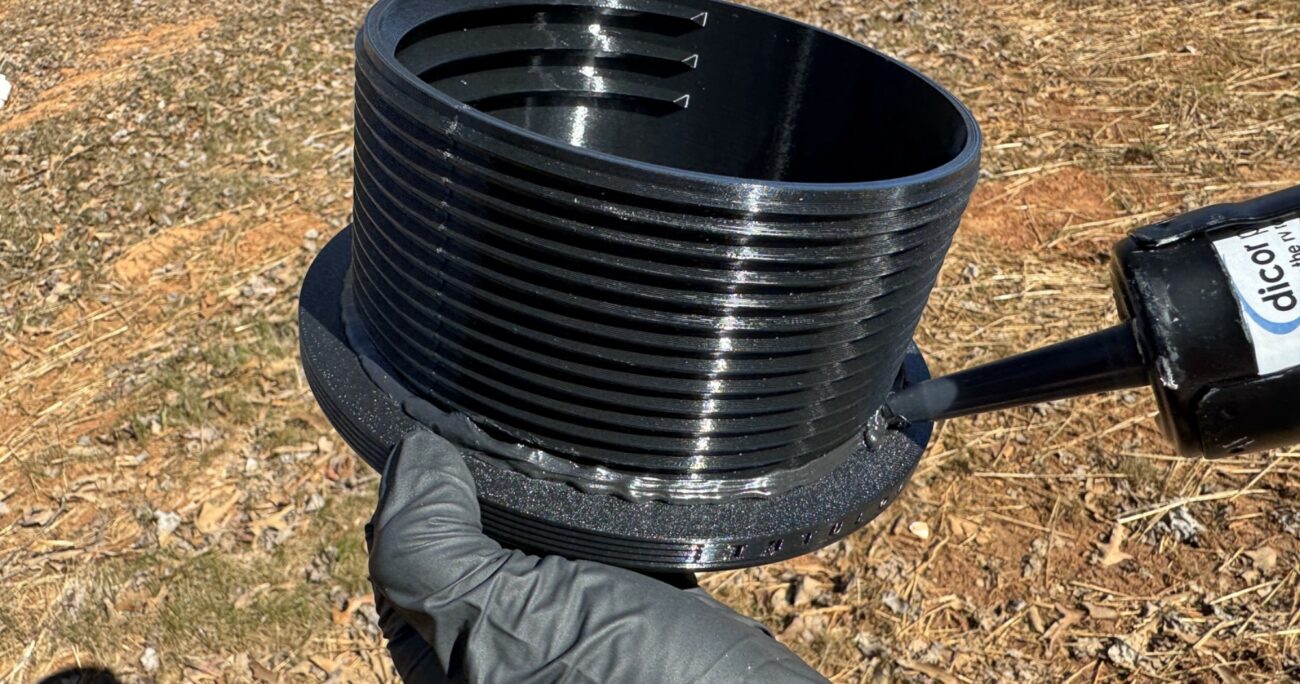
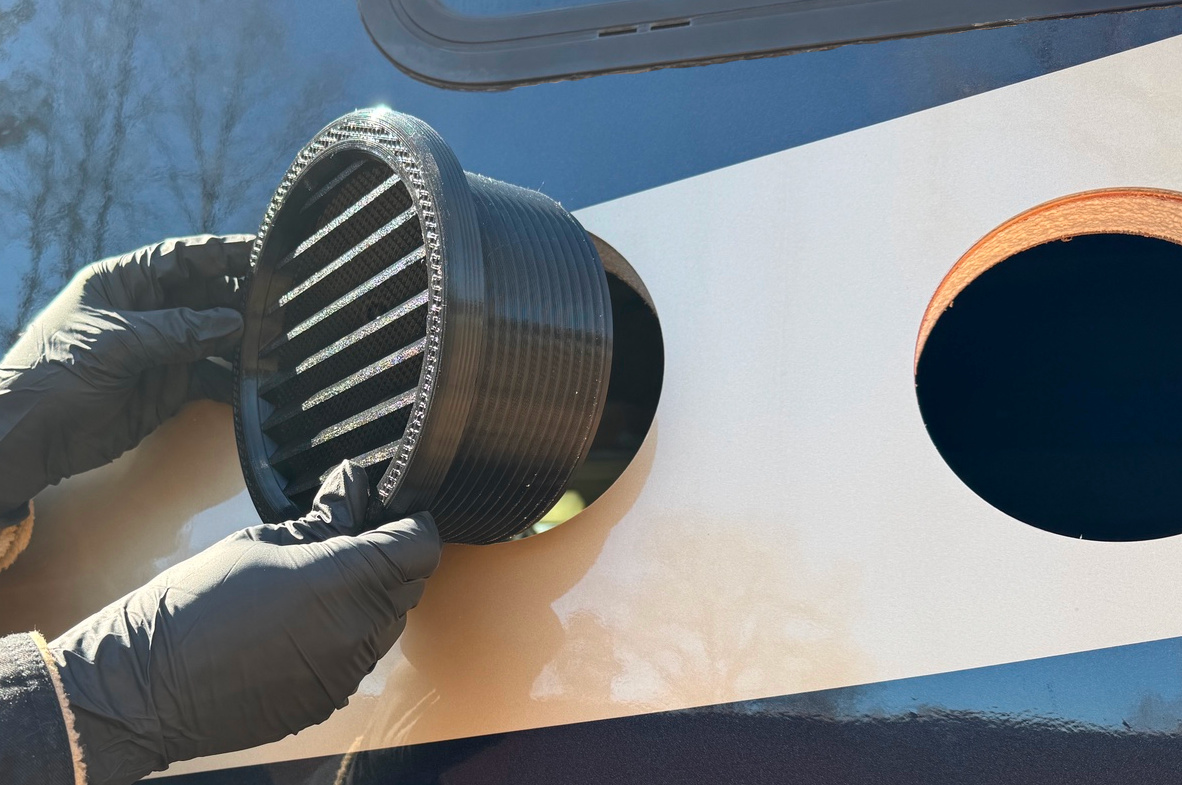
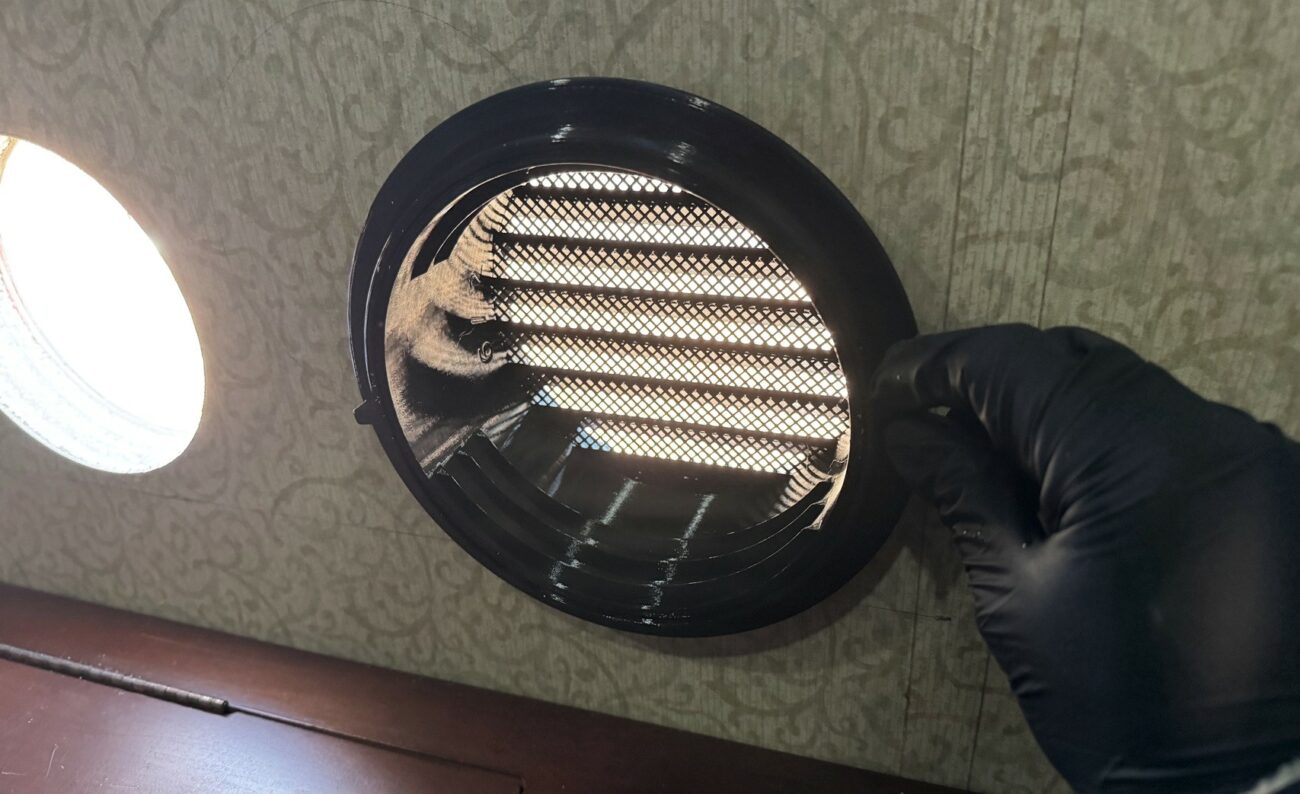
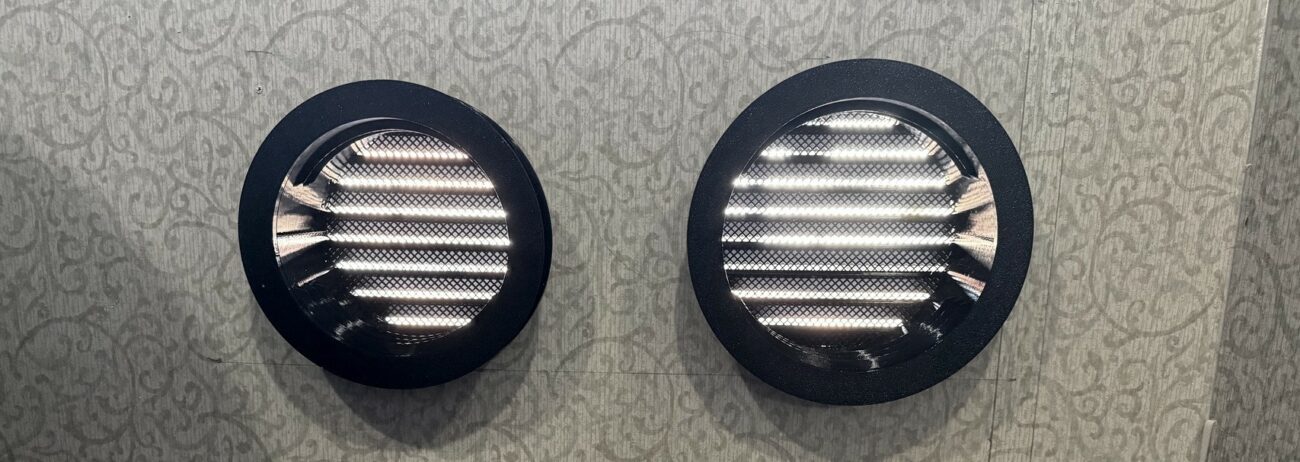
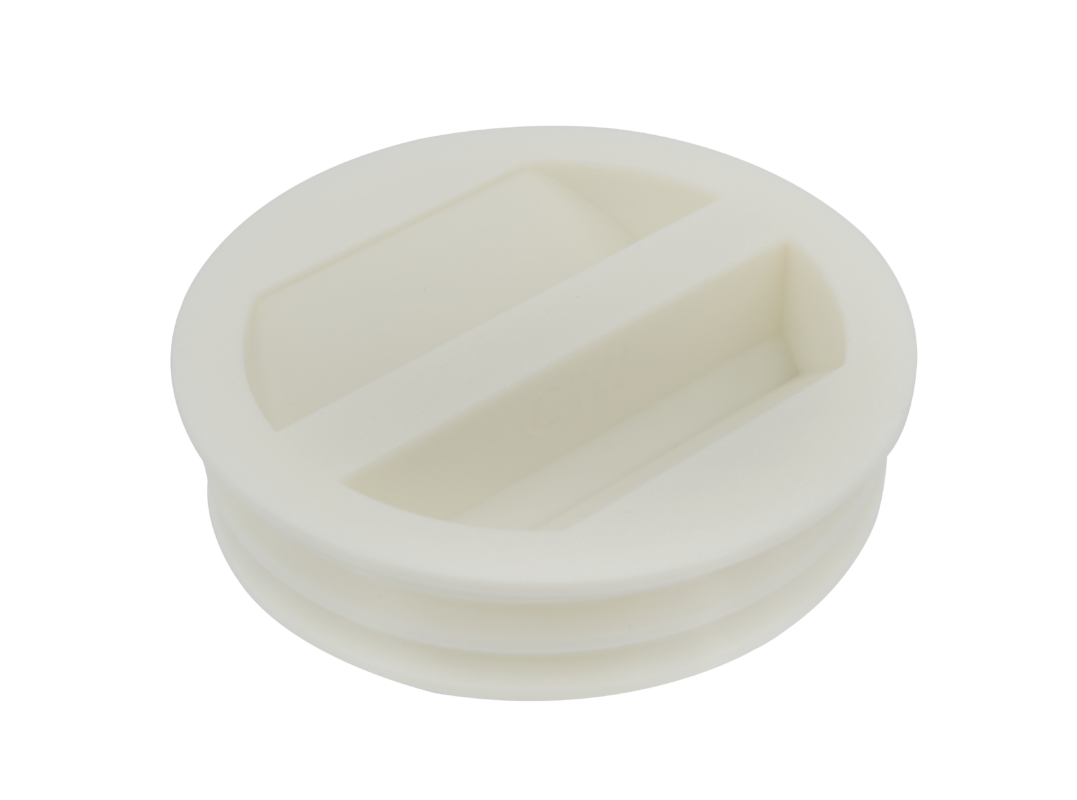
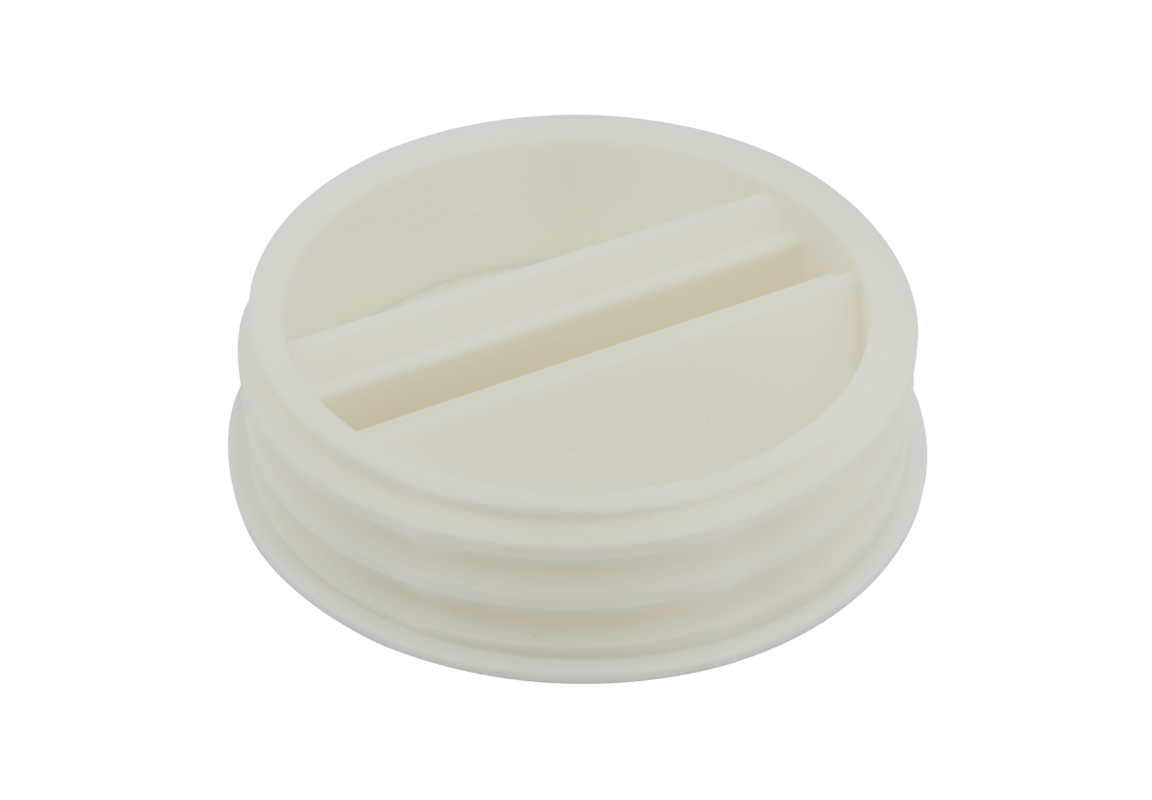
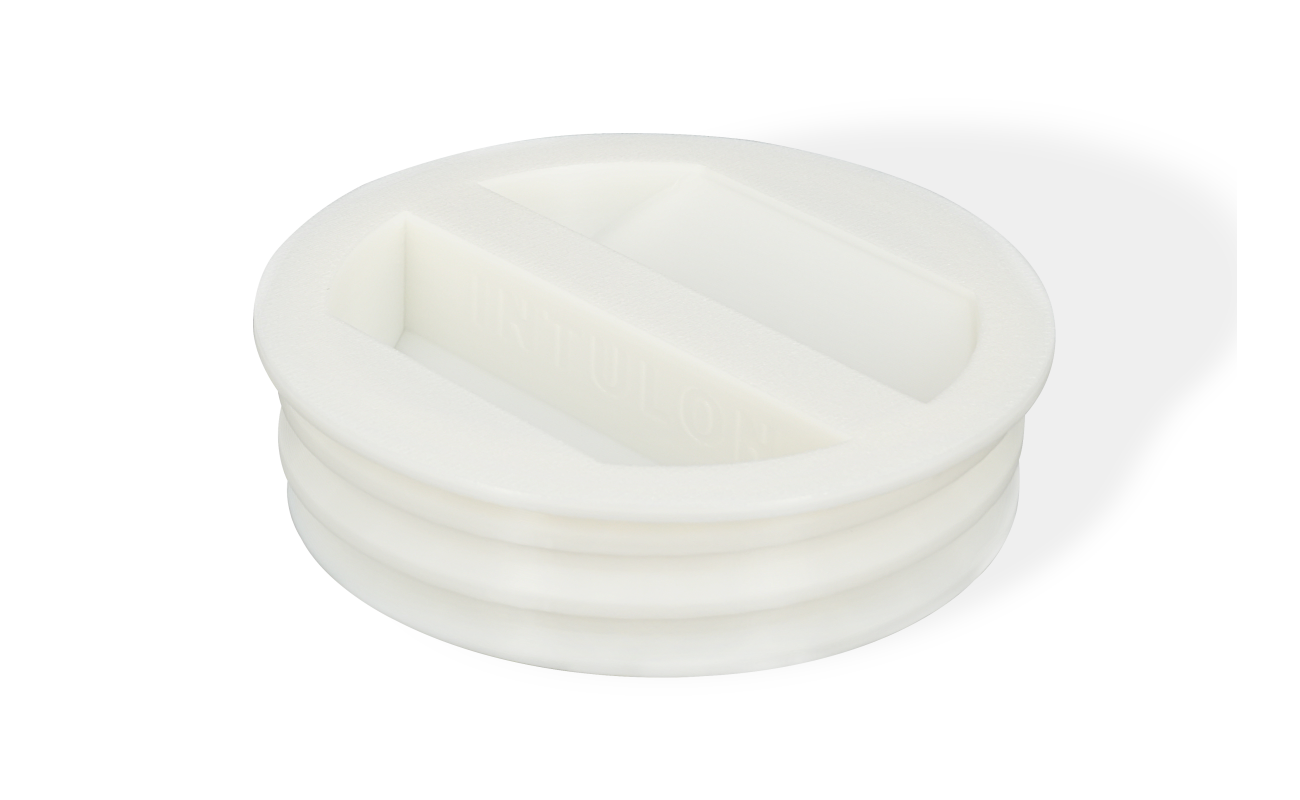
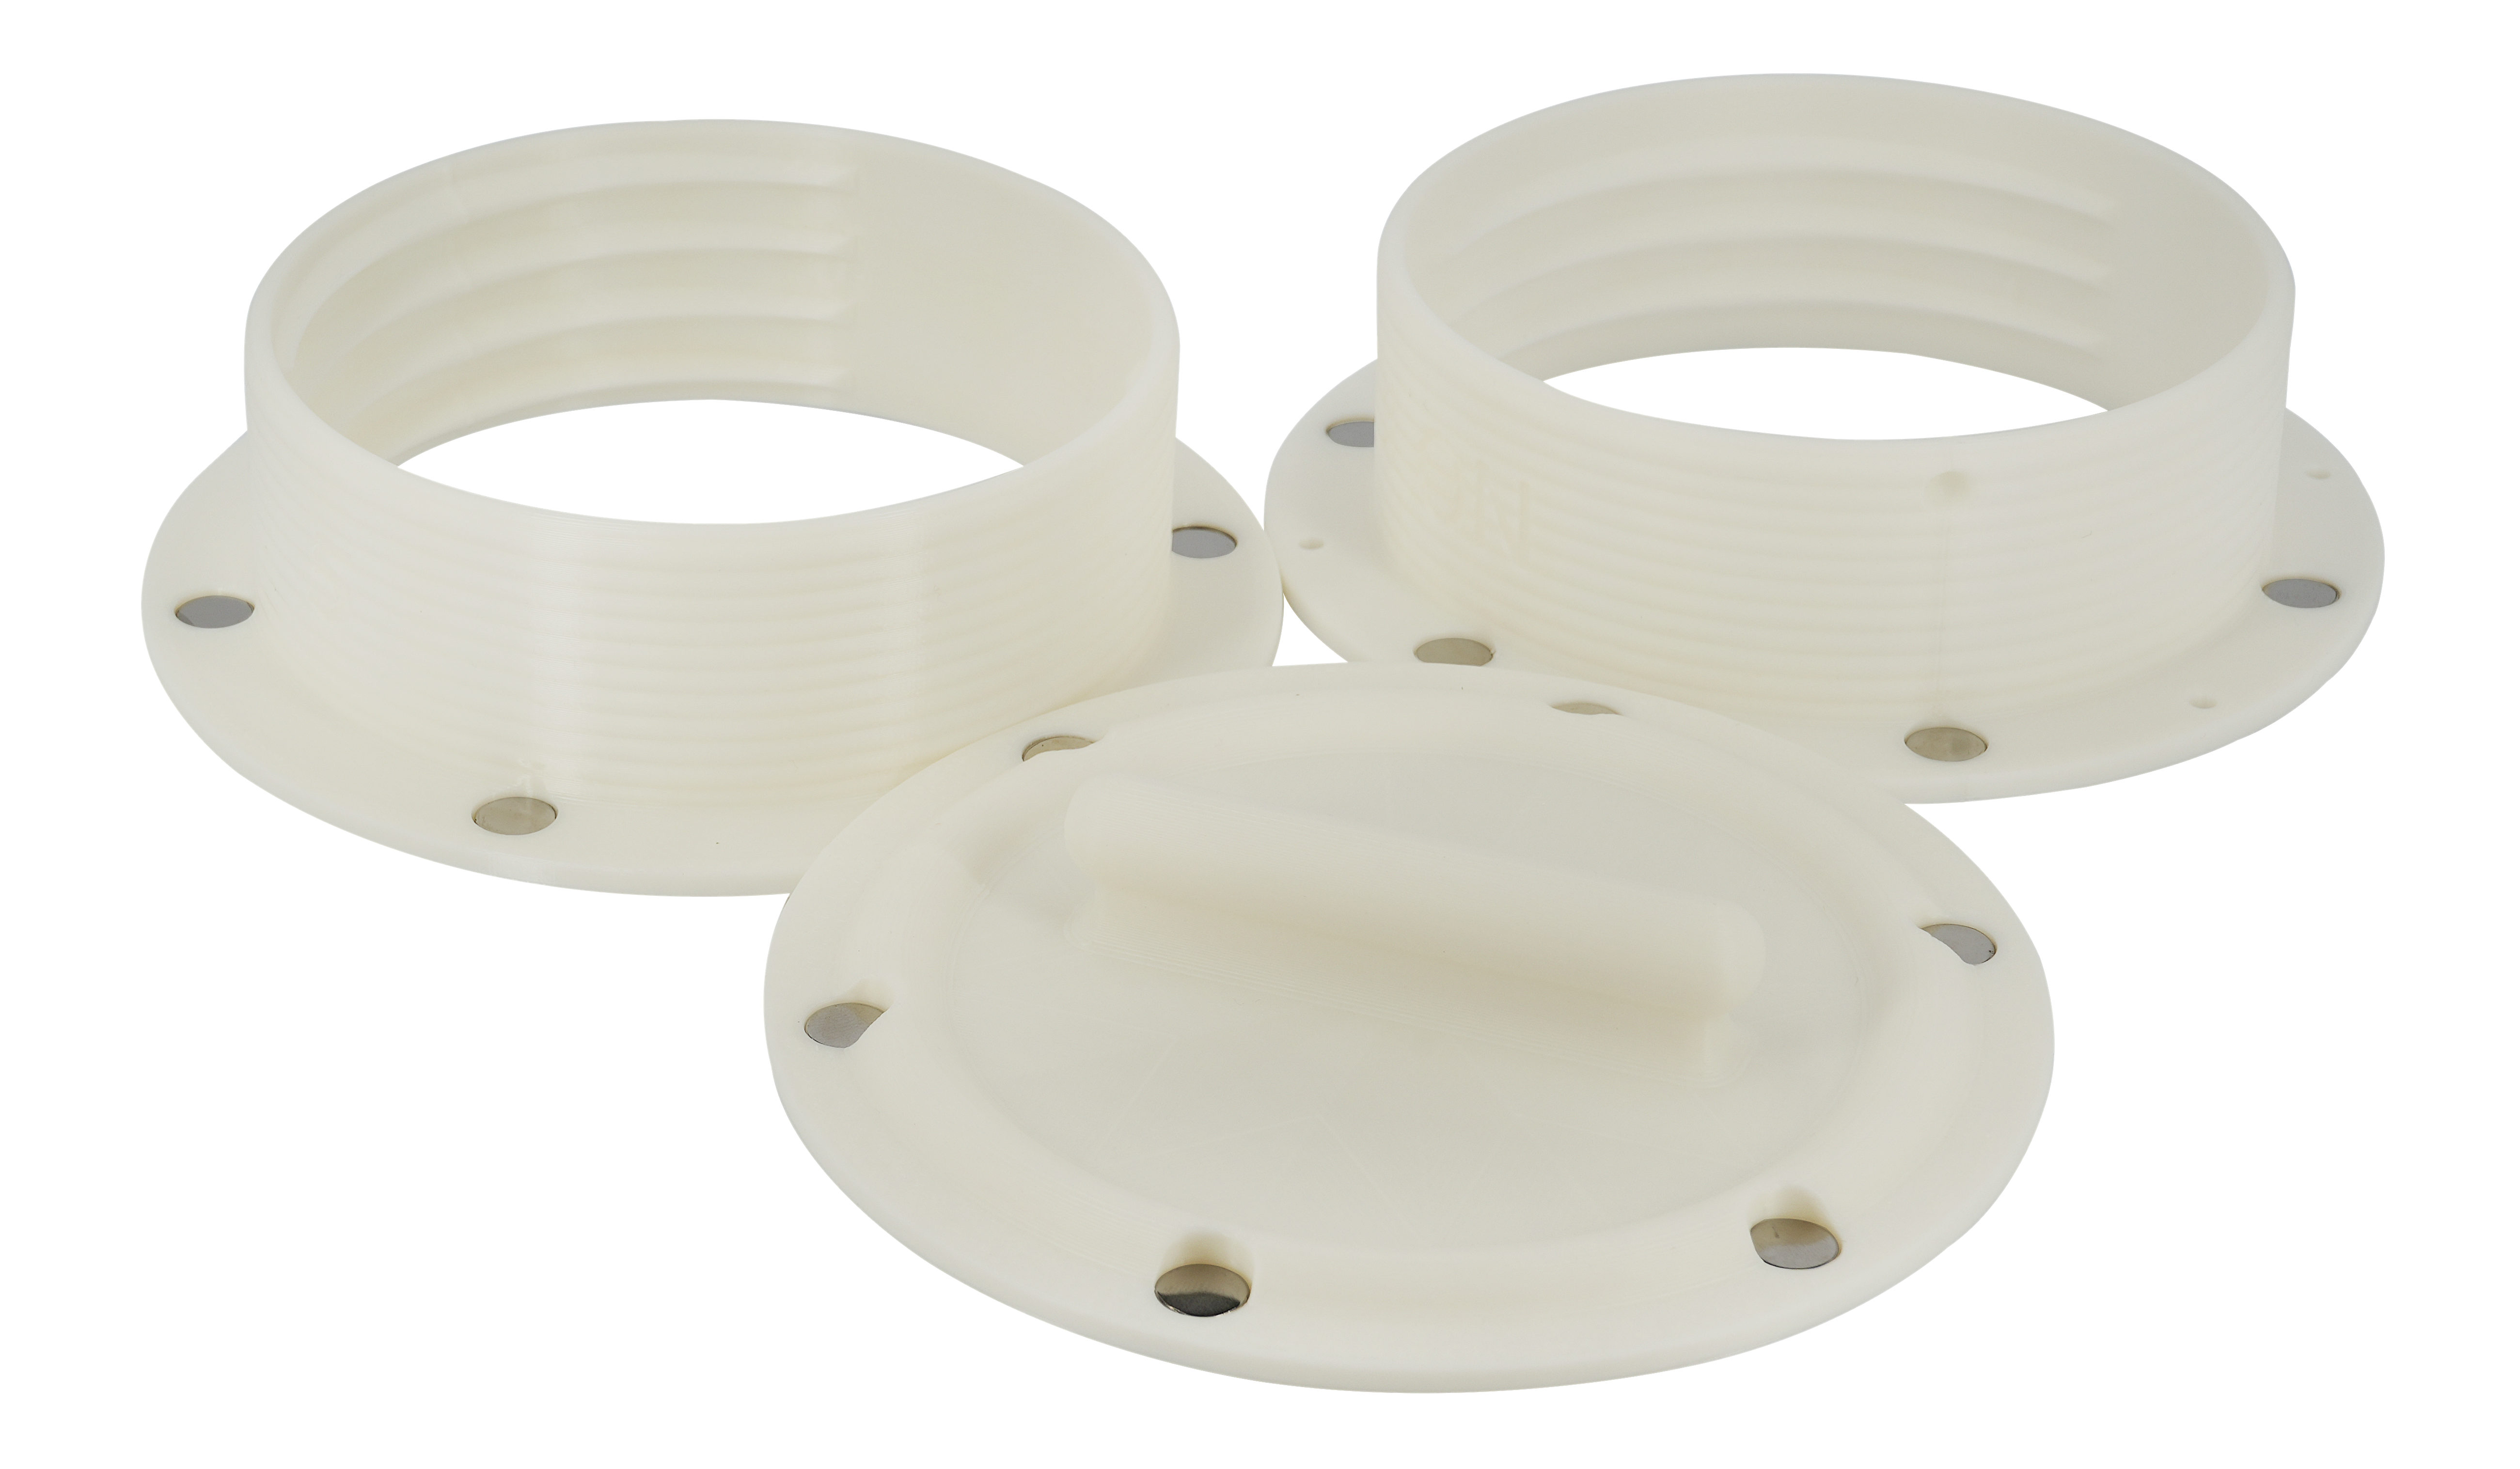
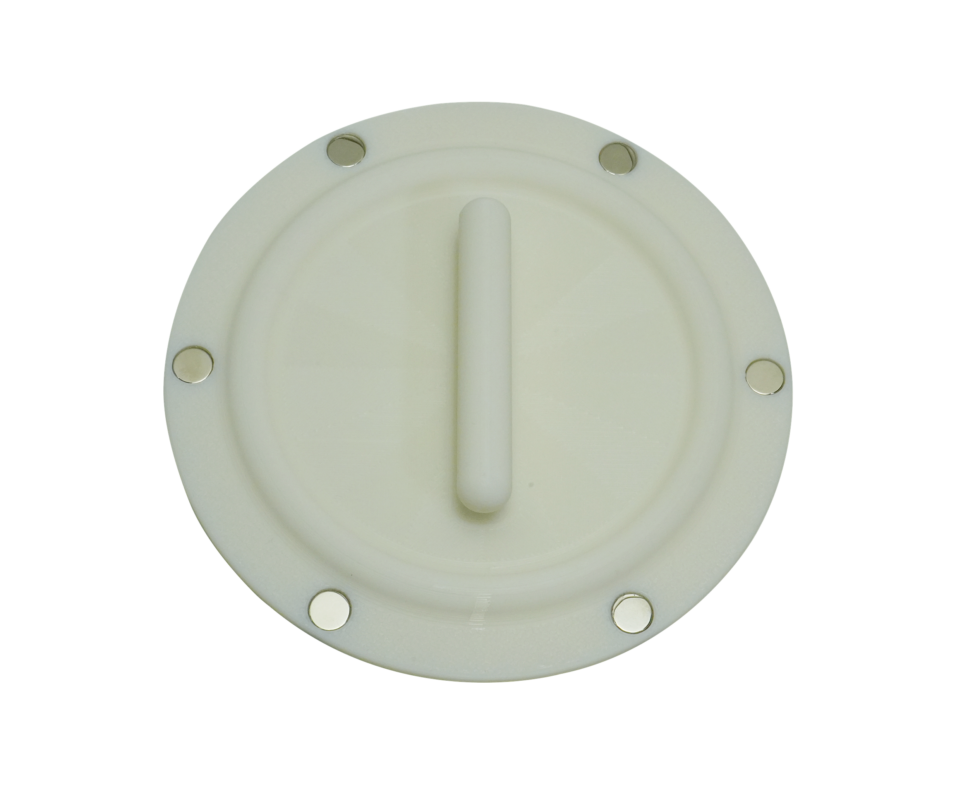
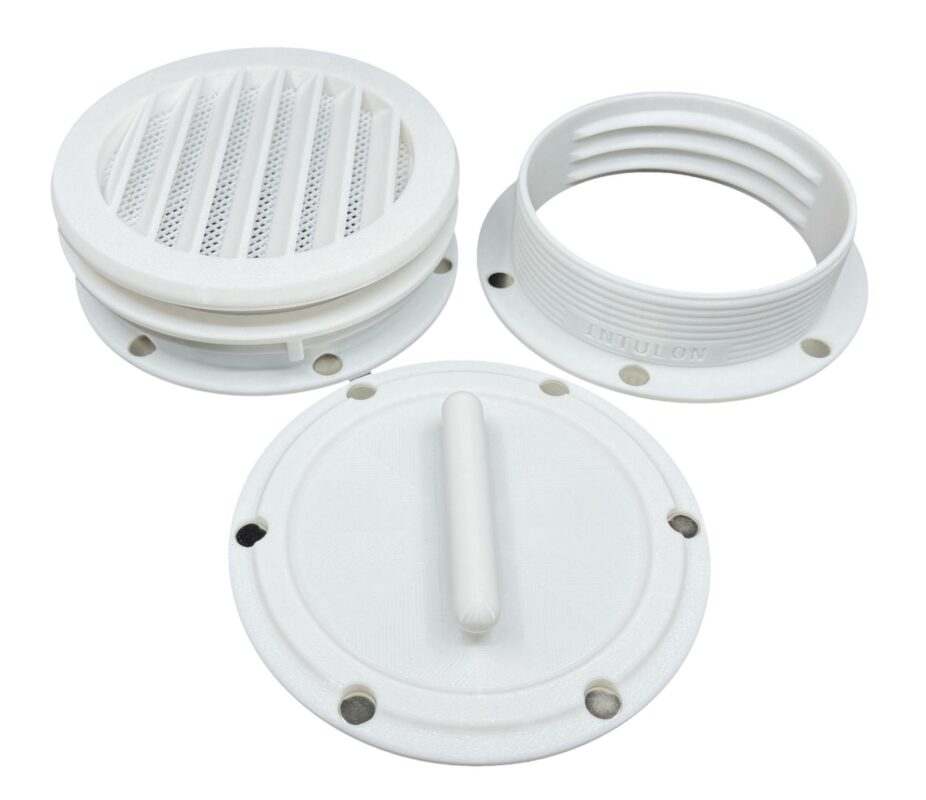
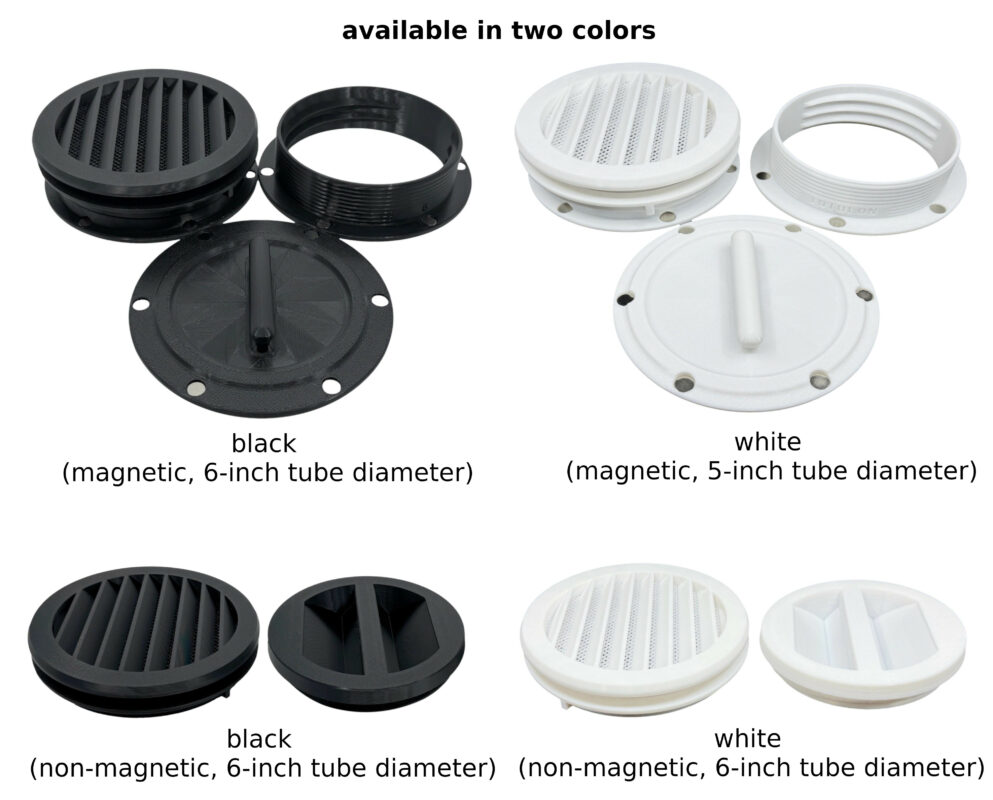
The tools and items I used are listed at the end of the post. The most important being Intulon's Portable Air Conditioner Exhaust Vent Kit (Type G).
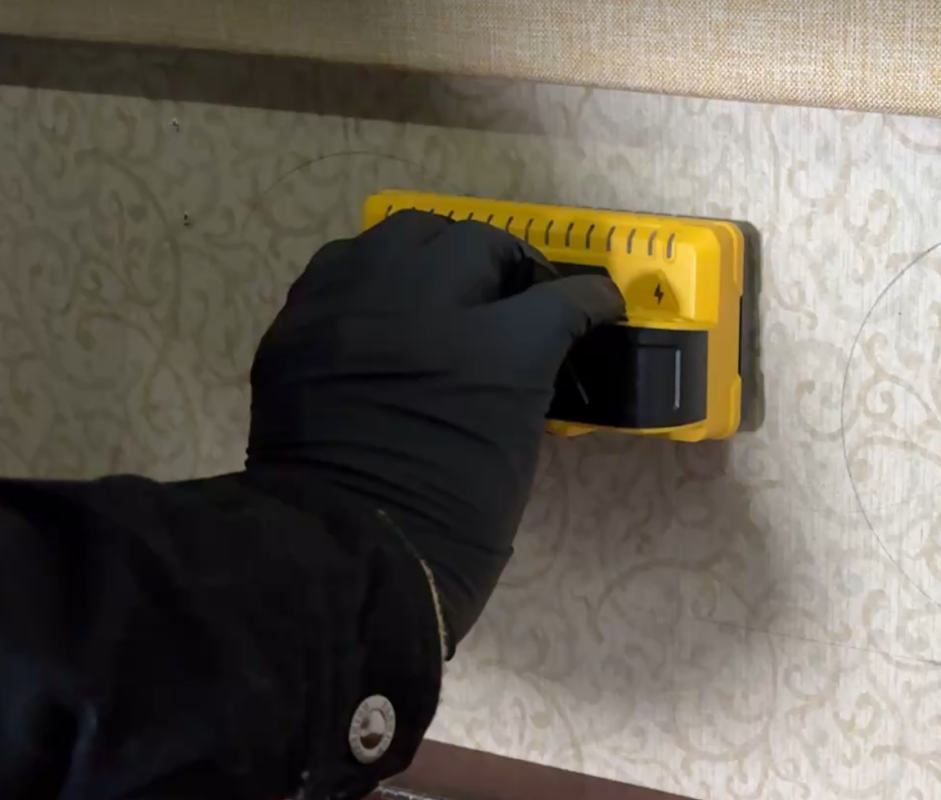
First, use a stud finder to ascertain that the installation areas is free of electrical wires and internal frames. The area should be large enough to accommodate the 5 and 6 inch diameter vent kits.


%20|%20Through%20Wall%20Vent%20Kit&url=/product/portable-ac-vent-kit-for-rvs-and-houses-type-g/&media=/wp-content/uploads/2025/02/6-EVNK-white_clipped_rev_1-926x800.jpeg)